What makes latest Photeeq lens flare a top choice in 2025?
Photeeq Lens Flare 2025: Elevate Your Photography
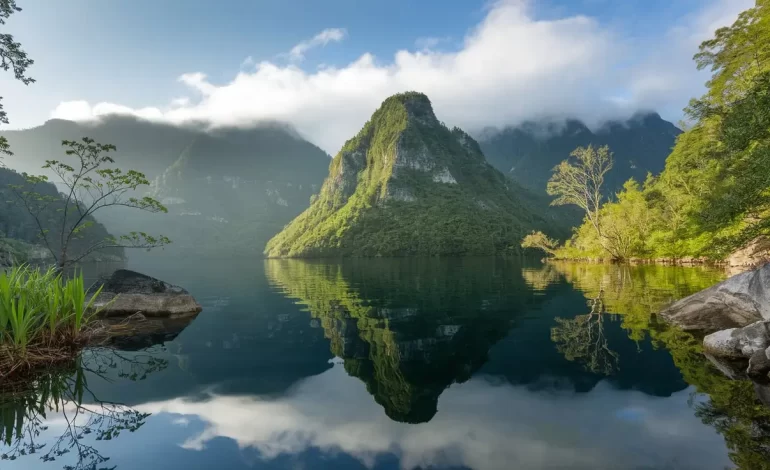
The world of photography is based on a combination of lighting, framing, and special effects. One of the most famous effects is the lens flare. What makes this effect appealing is its ability to give photos a one of a kind artistic style while improving the mood of the photograph. As one of the most famous plugins, Photeeq gives photographers the flexibility to add and control lens flare effects with ease.
Lens flare is an effect produced in the vision system when a radiant, bright object, such as the sun, is placed within the field of view. It produces streaks, sunbursts, or halos. Lens flare was once deemed an unwelcomed byproduct of a camera’s optical system, but contemporary photographers leverage it to create a feeling of warmth and drama in their pictures. Photeeq makes adding professional-looking lens flare effortless for photographers and gives them creative freedom over their images.
The Different Perspectives of Lens Flare in Photography.
What Is Lens Flare?
Lens flare happens when light shines directly onto a camera lens and creates many different artifacts, which can appear as halos, streaks, or even spots of light depending on the intensity and the angle in which the light hits the subject.
Different Types Of Lens Flare
Ghosting Flare – Usually caused by reflections between lens elements, ghosting flares are spotted as circles in differing colors, each appearing larger than the previous circle.
Veil of Fogs – A diffused effect that casts a blur filter to the photo and softens the contrast to give a hazy feel to the photo.
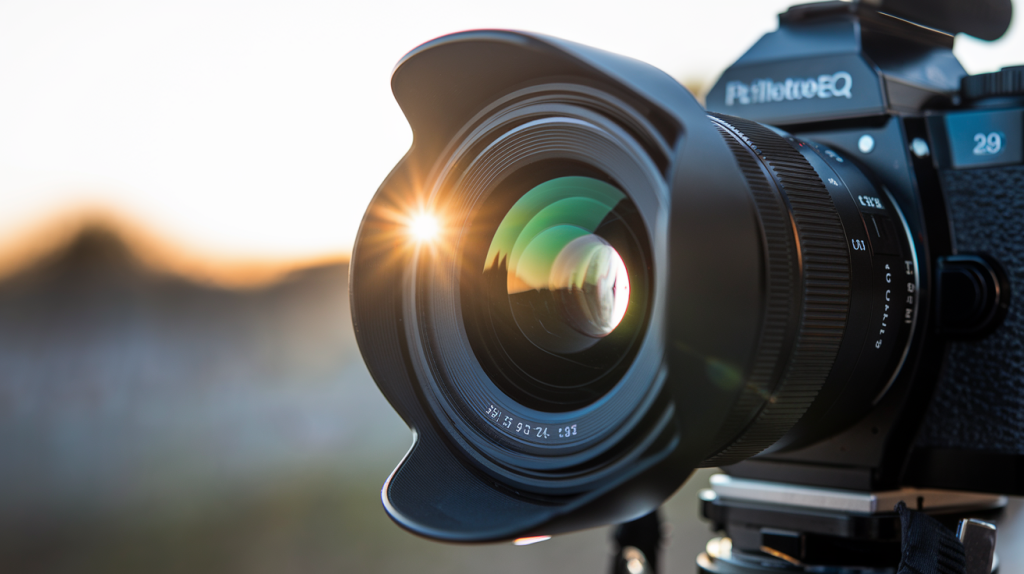
Starburst Flare – Happens when a lens captures, within its peripheral field of view, a bright light source with rays radiating from it.
Rainbow Lens Flare – Streaks of color or an arc which tends to contrast with the sunlight and is often seen when shooting towards bright sunlight.
Advantages and Disadvantages of Lens Flare
Advantages:
- Provides a visually appealing and realistic feel to images
- Heightens movie and artistic effect
- Gives dimension and photography realism
Disadvantages:
- Degrade sharpness and image depth
- May create some disturbances in the image
- Sometimes impossible to control geometrically in some light settings.
What is Photeeq and How Does It Work?
Overview of Photeeq Software
Photeeq is a specialized photo editing plug-in to improve pictures by adding various effects like highly sophisticated lens flares. Photeeq makes it easy to add special light effects for graphic design, portrait and landscape photography. Photeeq does not deteriorate image quality.
Key Features and Functionalities
Advance Lens Flares – Customizable lens flares that changes sizes, shapes, and intensities based on user preference.
Easy to Learn – Primary controls that easily apply and change effects.
Light Source Customization – Adjusts to the angle and color and strength of lens flare for a more natural effect.
Compatibility – Works with well known photo editing applications such as Photoshop and Lightroom.
How Photeeq Improves Photeeq lens flare Effects
Photeeq gives photographers the ability to create authentic and realistic Photeeq lens flare at will. Users do not need to depend on natural lighting, and can instead adjust flare intensity, placement, and orientation to fit their needs. This plugin guarantees that no over-the-top effects are digitally added into the picture, while ensuring that the end results look professional.
How to Add Photeeq lens flare Using Photeeq
Follow These Steps to Apply Photeeq lens flare;
Open Your Image- Load the image you wish to work on in a software that supports Photeeq.
Select Lens Flare Effect – Select lens flare from the options in the Photeeq plugin.
Set the Light Source – Set the light source direction of the flare to that of the natural light in your image.
Adjust the Effect – Change the amount of desired effect, size and color.
Apply and Fine Tune – Blend with filters in order to make the effect natural.
Save and Export – When you are satisfied with the results save the image for final use.
Customization Options in Photeeq
Intensity Control – Adjusts the strength of the lens glare and fits it into the level of the light source.
Angle & Placement – Original angle can be altered to create a more convincing flare.
Color Adjustments – change the tint and the temperature of the flare in accordance with the image.
Recommendations for Realistic and Striking Lens Flare Achievement
- For daylight shots use realistic effects with subtle glimmers of flare.
- Enhance the flare for a more filmic look or for artistic-dramatic images.
- In post production ensure that the original glare has the same direction as the original light source.
- Do not abuse it extreme flare can create an unnatural effect.
- Most Important Guidelines for Lens Flare Application in Pictures
When and Where to Use Lens Flare
Golden Hour Photography – For lens flare, sunrise and sunset hours work best because the light is soft and warm.
Portraits with Sun Light – Glamour and fantasy effectiveness.
Landscape and Urban Shots – Uplifts the scenes of nature and town.
Cinematic Storytelling – Emotional deepness in images.
Light and Exposure Balance
- Reduce the amount of exposure inappropriately set at the camera.
- Block any glare that is not required using a lens hood.
- Change the aperture to different settings and grab different flares.
Common Mistakes to Avoid
Overexposure – Excessively bright view will blur out the details of the image, thus reducing the quality of it.
Inappropriate positioning: The Photeeq lens flare must correspond with the light source in reality.
Fond of Special Effects: A picture can diverge from reality because it has been modified too much by artificial flares.
Options aside Photeeq regarding any Flare Effects for phototgraphy Editing Software
Any Other Plugin or Sftware Available
If users do not like the effect Photeeq gives, there are multiple substitutes with matching effects:
Adobe Photoshop: Comes with preset Photeeq lens flare filters that also allow the user to modify them freely.
Lightroom: Provides option to manually put in Photeeq lens flare with the use of brushes.
Snapseed: A mobile application that is free and provides users with basic features of flare.
Luminar Neo: AI enables detailed lens flare adds for advanced changes.
Paid vs Free
Photeeq- generously customizable Photeeq lens flare Photoshop – Extensive editing tools, requires more skills. Snapseed – limited tools, ideal for novice. Lightroom – best tool for editors using modern workflows.
Conclusion – Photeeq Lens Flare
Photeeq claim to fame is their high-end lens flare tool that can quite easily be adjusted in all different aspects. Whether it is a composition of a portrait or a movie picture scene, the breathtaking light effects this plug in can add to an image is second to none. Familiarization with the use of Photeeq lens flare techniques combined with Photeeq’s features and best practices would ensure that the photographer dramatically transforms his or her work and enable them to be creative. For photographers looking to add stunning lens flares without much effort, Photeeq is the best option.
FAQs About Photeeq Lens Flare
- What is Photeeq Lens Flare?
Photeeq Lens Flare is a software plugin designed for photographers and allows users to add or alter the lens flare effect in their images.
- How does lens flare occur in photography?
When there is an image, bright light shines directly towards the lens of a camera and as a result, it produces scorching hot light streaks, halos, or other artifacts encompassing the image.
- Can I control the intensity of lens flare in Photeeq?
Yes, Photeeq allows users to modify and scale the degree of intensity, angle, and color of lens flare that is incorporated into a photo.
- Is Photeeq compatible with Photoshop?
Indeed, Photeeq is compatible with all Photoshop applications and is effortlessly integrated into these platforms in the same way this application works with other photo editing softwares.
- How to make the lens flare look natural?
Change the intensity to low, adjust the position of color with respect to the light source, and change the color temperature.
For More Visits: Innocams